How to make slick captioned figures in Microsoft Word
A brief guide to making figures and captions easily in Word
Basic idea
Each image actually lives inside a small table that holds both the image and it's caption text. For the purposes of this guide, I am not using the built-in figure captioning feature (located under the Insert menu) because I think it more or less sucks. My way is much better for most people, although it requires a couple extra commands.
A general tip
Everything you do in MS Word will be better it you turn on the "Show Paragraphs" mode, which looks like this:

This will allow you to see how your document is put together: all the tabs, spaces, paragraph endings, and object anchors.
Make a table
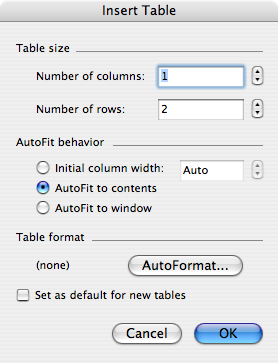 After you've got your text written, at least in part, put the cursor at the beginning of a paragraph whose text is relevant to the contents of the figure. Then select Table > Insert > Table... From the window that opens, choose to make a table two rows high and one column wide. The top row will contain your image, and the bottom row will contain the caption. Choose AutoFit to contents, and don't choose AutoFormat.
 Insert the image
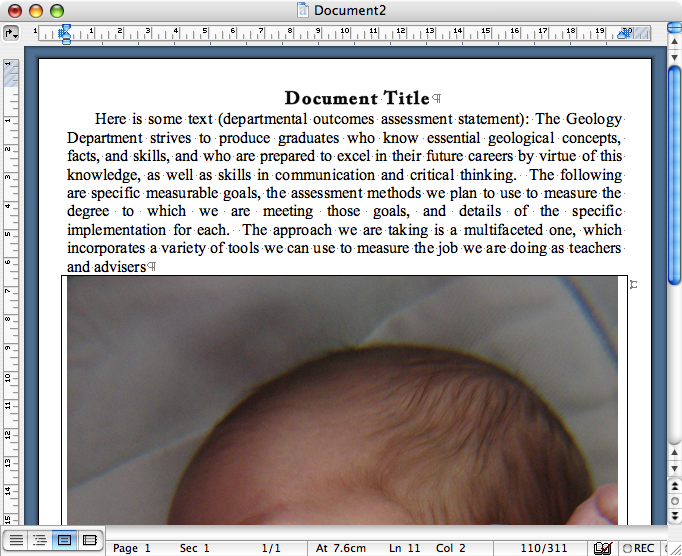
Put the cursor inside the top cell of the table, and choose Insert > Picture > From File. Locate the image you want. You will likely find that the image is too big once it is loaded (you may wish to use the Image Shrinker, or a graphics program, such as Photoshop, to reduce the image's size beforehand). At left is what your document might look like at this point:
Reduce the image size
If you click once on the image to select it, then scroll down to the bottom-right of the image, you will see a small "handle" with which you can resize the image until it's the right size (about half the width of the document). If you hold down the Shift key (on the Mac; it may be different on Windows) while you drag, you can prevent the image from getting distorted. You can, alternately, double-click the image and adjust the size numerically. The table's width should adjust automatically to match the image's width.
Adjust the table position and wrapping
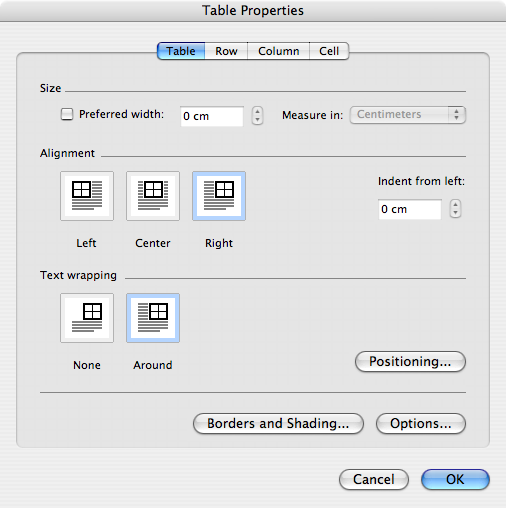 Put the cursor inside the table, and go to Table > Table Properties. In the window that appears, select Right alignment (or Left, if you want), and choose "Around" for the text wrapping style (if you want this).
Add a caption
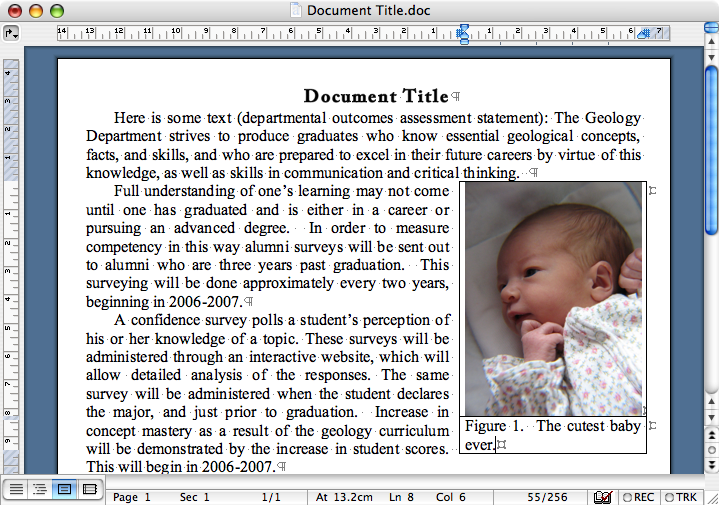
Type a caption in the lower cell, and you're done! If you need to move the table later, you can just put the cursor in the table, go to Table > Select > Table, and then either drag it, or cut and paste it. Here is what your final document might look like:
I hope this is helpful. If you have more questions, ask me.
-Dave